Each AirTag includes a replaceable battery intended to function for approximately one year. Once the AirTag battery runs low, your iPhone will notify you. Alternatively, you can manually check the AirTag’s battery status. While a dead battery disables your AirTag, replacing it is a straightforward process you can complete at home. This article will guide you through the steps to quickly and easily install a new battery, restoring your AirTag to full functionality in no time. Let’s get started :

Before purchasing a replacement battery, verify its compatibility. Some packages are explicitly labeled as ‘Compatible with AirTag.’ If not, ensure it’s a CR2032 battery with a bitterant coating. It’s worth noting that certain CR2032 batteries may not function with AirTags. In such cases, you can lightly remove the coating with sandpaper.
CR2032 lithium CV coin batteries are commonly available at electronics and drug stores.
How to Replace AirTag Battery Before replacing the AirTag battery, remove the tracker from its case or accessory, and confirm you have the correct battery type. Once prepared, proceed with the following steps:
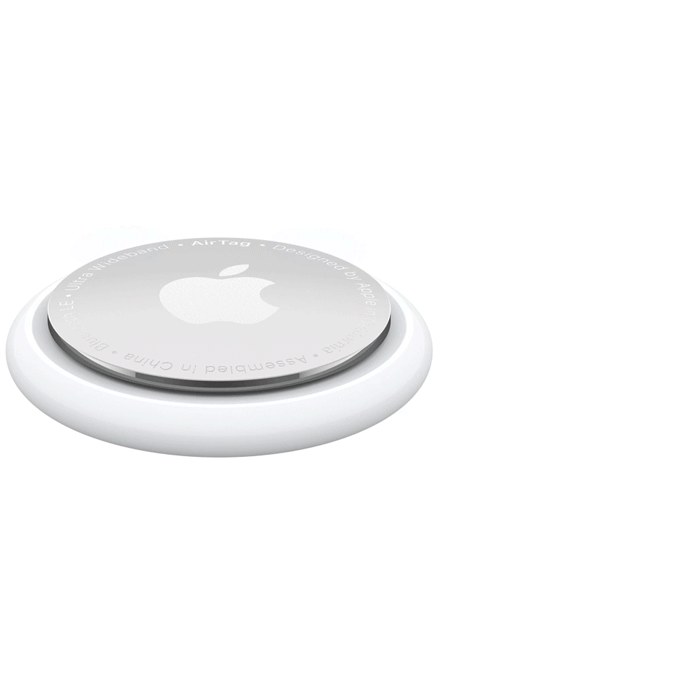
- First step : off, flip your AirTag so the white side faces down, and the stainless steel side is up (towards you).
- Second step : , use two fingers to push in and twist counter-clockwise on the steel side.
- End step : remove the old CR2032 battery and replace it with a new battery with the “+” sign facing up. Here’s a GIF showing the whole replacement process: